Route the Air Table Cabling
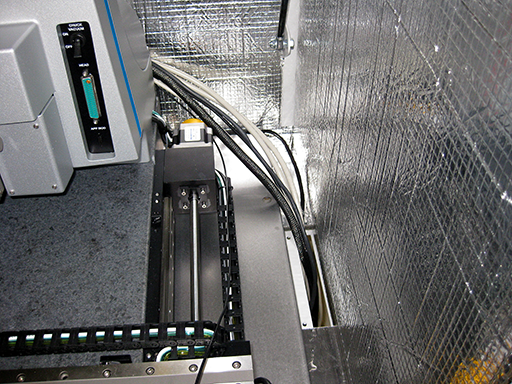
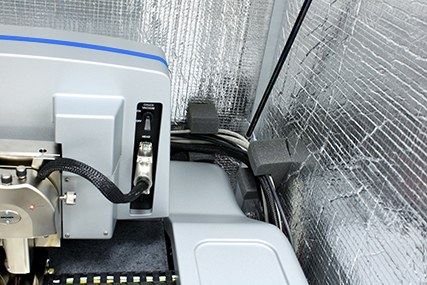
- Route all cables connected to the Dimension Icon microscope through the slot located in the far right side of the AVH-1000 vibration isolation table:
- Bolt the inside half of the cable clamp (figure 1, below) to the holes adjacent to the cable slot on the underside of the air table:

Figure 1: Cable Clamp

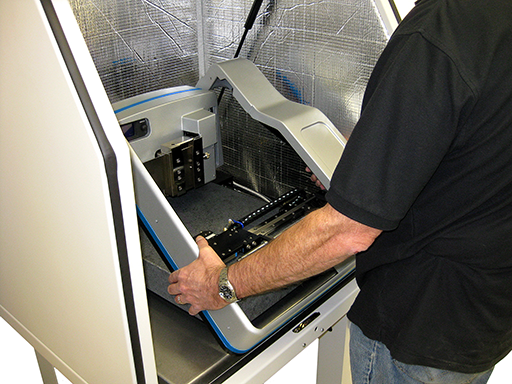
- Unpack the X-Y stage cover and place it over the microscope:
The cables should have a rounded stress relief:
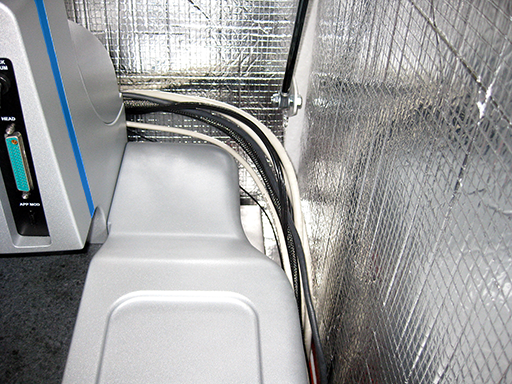
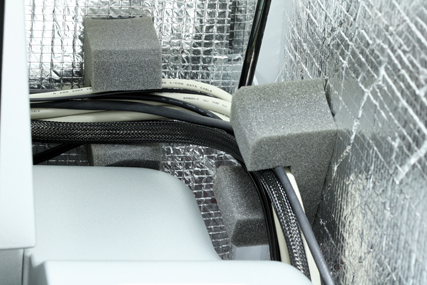
- Place two foam cable routing pieces between the cables and the hood. These will prevent the cables from touching the acoustic hood wall:
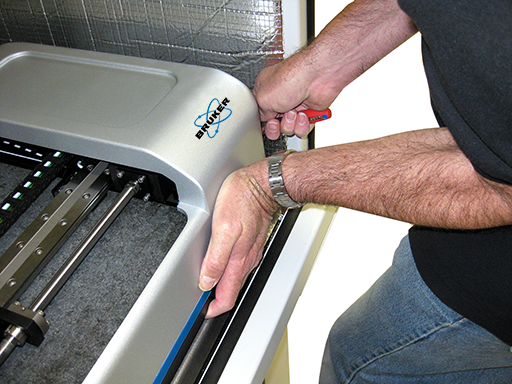
- Use a phillips-head bit in a right angle ratchet wrench to tighten the two screws on the right side of the cover. Push the front of the cover towards the granite base to tighten the right front screw.
CAUTION: Do not attempt to move the Dimension Icon by pushing on the covers.
- Tighten the three screws of the left side of the stage cover.
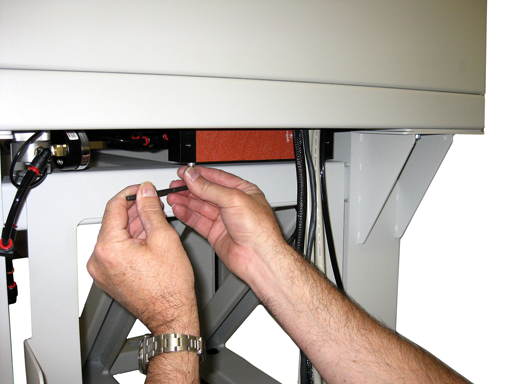
- Loosely bolt the other half of the cable clamp to the half attached to the AVH-1000 vibration isolation table.
- Ensure that there is slack in the cables between the cable clamp on the vibration isolation table and the cable clamp at the rear of the Dimension Icon microscope.
- Tighten the halves of the cable clamp attached to the vibration isolation table.
- Secure the cable clamp by tightening the four bolts underneath the vibration isolation table.
| www.bruker.com
|
Bruker Corporation |
| www.brukerafmprobes.com
|
112 Robin Hill Rd. |
| nanoscaleworld.bruker-axs.com/nanoscaleworld/
|
Santa Barbara, CA 93117 |
| |
|
| |
Customer Support: (800) 873-9750 |
| |
Copyright 2010, 2011. All Rights Reserved. |
Open topic with navigation