Installing NanoScope Software
System Requirements
CAUTION: Contact Bruker Technical Support before attempting to increase the RAM of your system. Failure to do so could cause irreparable damage to your system.
The 8.x version of NanoScope software requires the following:
- A minimum computer configuration of a Quad Core 2.4 GHz CPU or a Dual Core 2.0 GHz CPU (NanoScope V-PI Controller)
- 4 GB RAM
- GeForce 8600 GT or 9400 GT 512 MB video card
Before You Install
CAUTION: Ensure you have backed up all critical data onto external media before installing the NanoScope software.
- If you are upgrading from a previous version of NanoScope, ensure you are starting with a working version. The settings from the working version will be used for the new version.
- Note that some of the installation screen views may not appear, or may appear slightly different, depending on your particular system configuration.
- Ensure you are logged in as Administrator on the local workstation.
NanoScope 8.x Installation
NOTE: Most systems are configured on the microscopes prior to delivery.
- Insert the NanoScope 8.x CD-ROM in your CD drive, open the CD-ROM files, open the v8.x folder, and select the Setup.exe icon. NanoScope V-PI users will need to append the argument “- InstallNSVLite” to the install command.
NOTE: If you do not have Administrator privileges on your workstation, a
Warning, shown in
Figure 1, will appear on the screen and installation will discontinue.
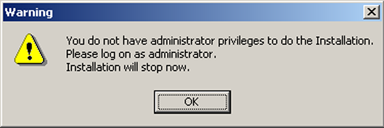
Figure 1: Administrator Warning
- If you have an existing instance of NanoScope software, the message shown in Figure 2 will appear. Check the appropriate radio button and click Next.

Figure 2: Welcome to NanoScope 8 Dialog Box
- The Welcome to the InstallShield Wizard for NanoScope 8.x dialog box, shown in Figure 3, will open. Click Next.
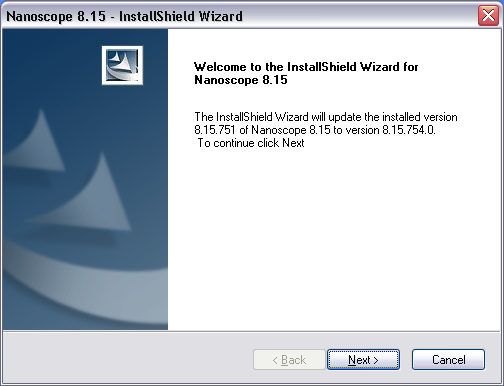
Figure 3: Welcome to NanoScope 8 Dialog Box
If you are not upgrading an existing NanoScope installation (e.g. NanoScope 8.15.742 to NanoScope 8.15.743), the License Agreement, shown in Figure 4, will appear.

Figure 4: NanoScope license agreement
- After accepting the license agreement, the Installation Type dialog box, shown in Figure 5, will open. Click Next.
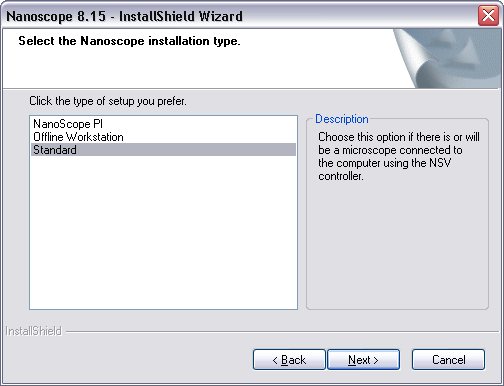
Figure 5: Installation Type Dialog Box
- Select Standard and click Next.
- Install Shield then checks your system and, if needed, makes recommendations. See Figure 6.

Figure 6: System Information and Recommendations Dialog Box
- Click Next.
- After choosing a destination location (see Figure 7), click Next.

Figure 7: Destination Location Dialog Box
- Select the features you wish to install (see Figure 8) and click Next.

Figure 8: Select Features Dialog Box
- If this is a new installation, the installer will ask you to select a Setpoint Mode. See Figure 9. Bruker recommends the Scaled Setpoint Mode.

Figure 9: Select Setpoint Mode
NOTE: You may change Gain and Setpoint Modes after installation by clicking in an image window and clicking
Tools > Options > Classic Gain and Setpoint Mode, shown in
Figure 10.
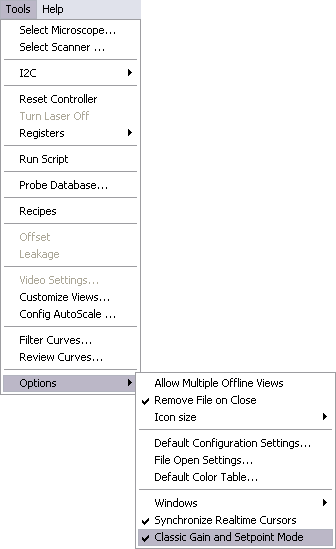
Figure 10: Select Setpoint Mode
- The Ready to Install dialog box, shown in Figure 11, will display.
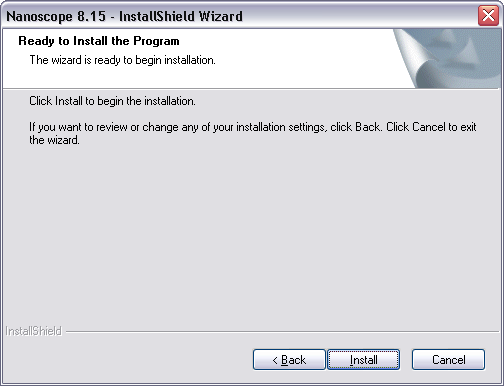
Figure 11: Ready to Install Dialog Box
Click Install. Installation of the NanoScope 8.15 software will then continue. A progress box, shown in Figure 12, appears.
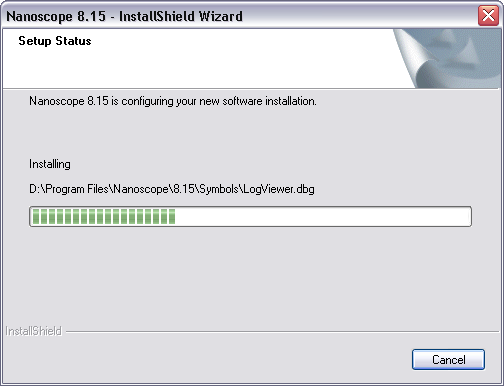
Figure 12: Progress Dialog Box
Click Yes to import settings, including calibration files from an existing NanoScope software installation. See Figure 13.

Figure 13: Import settings dialog box
When the installation is complete, the dialog box shown in Figure 14 will appear.
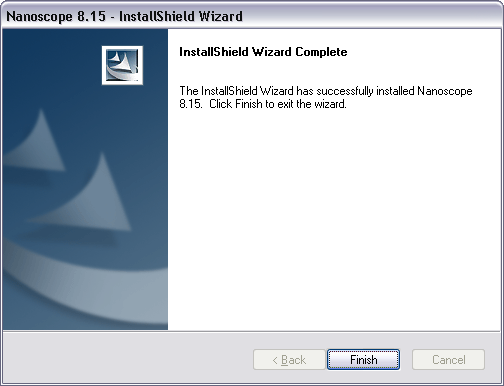
Figure 14: Installation Complete Dialog Box
Click Finish to complete the installation.
| www.bruker.com
|
Bruker Corporation |
| www.brukerafmprobes.com
|
112 Robin Hill Rd. |
| nanoscaleworld.bruker-axs.com/nanoscaleworld/
|
Santa Barbara, CA 93117 |
| |
|
| |
Customer Support: (800) 873-9750 |
| |
Copyright 2010, 2011. All Rights Reserved. |
Open topic with navigation