How to organize products using cabinets/shelves, KLARA

Anders Liljeborg, updated 2021-03-22


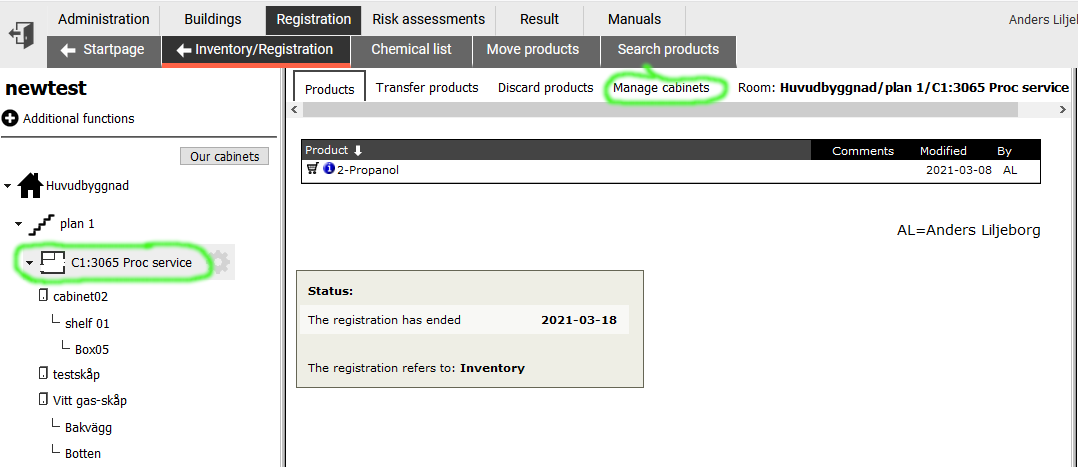
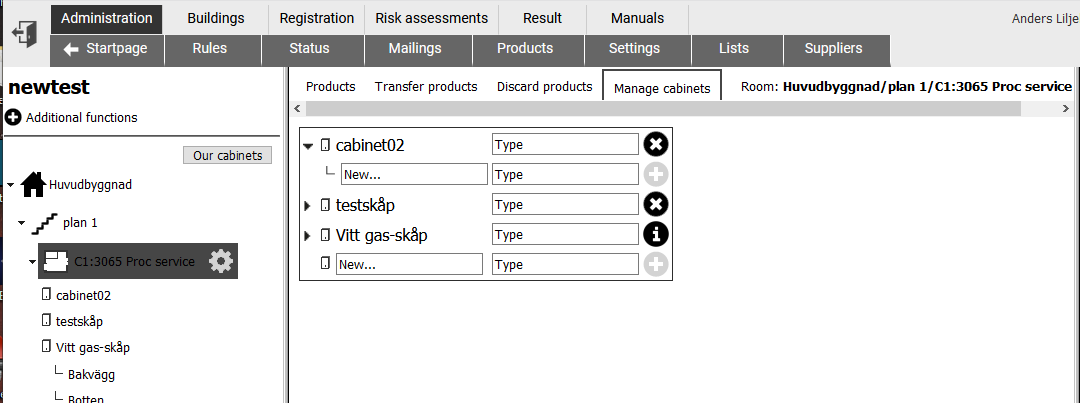
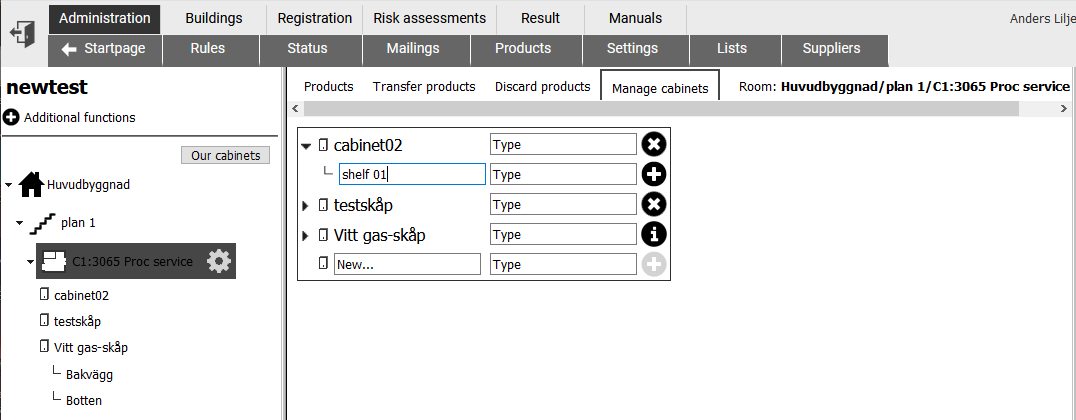
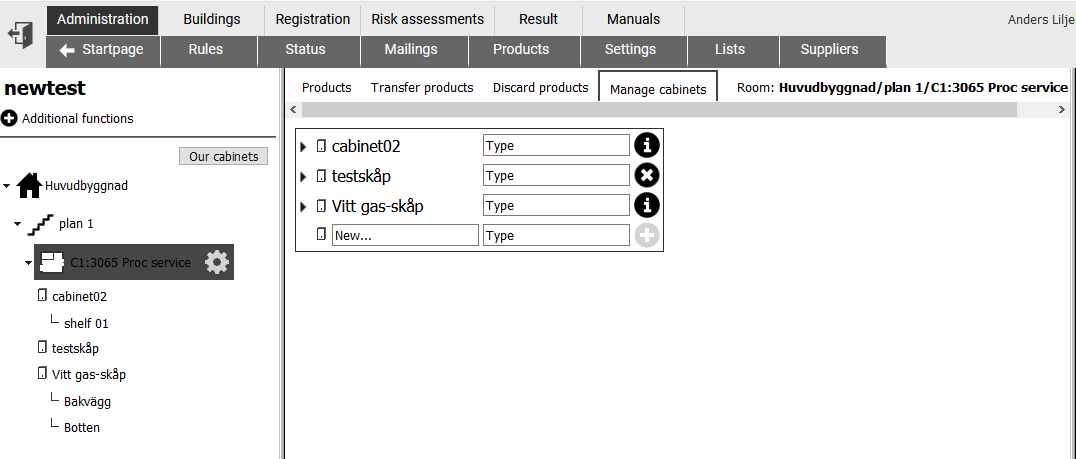
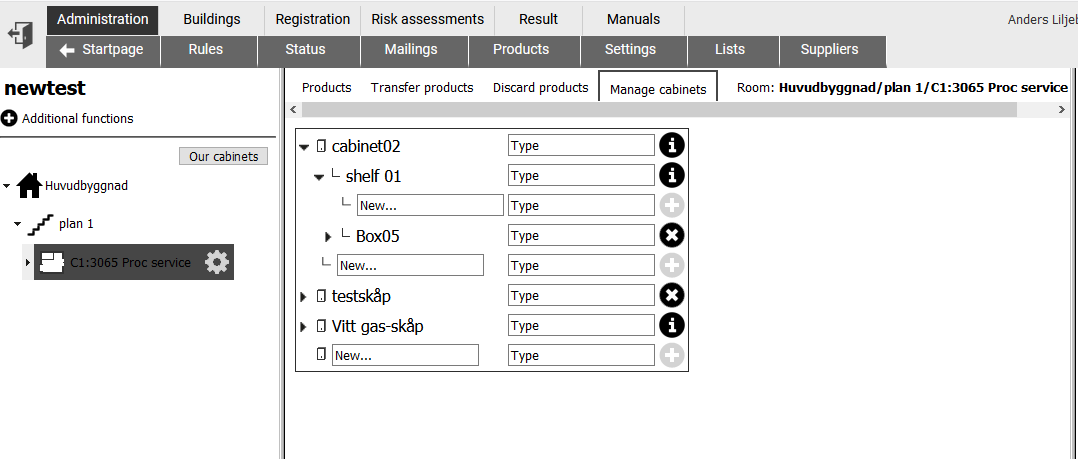
It is very good practice to organize the chemical products within a lab into cabinets and preferably shelves. The cabinets should of course be named after the physically existing cabinets inside the respective lab rooms.

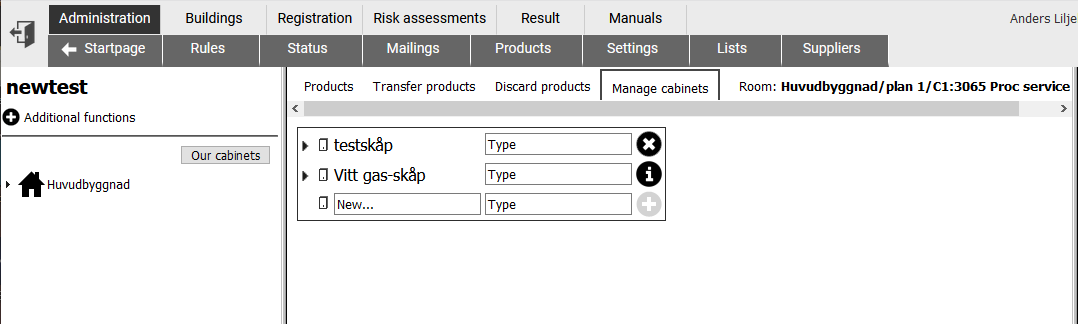
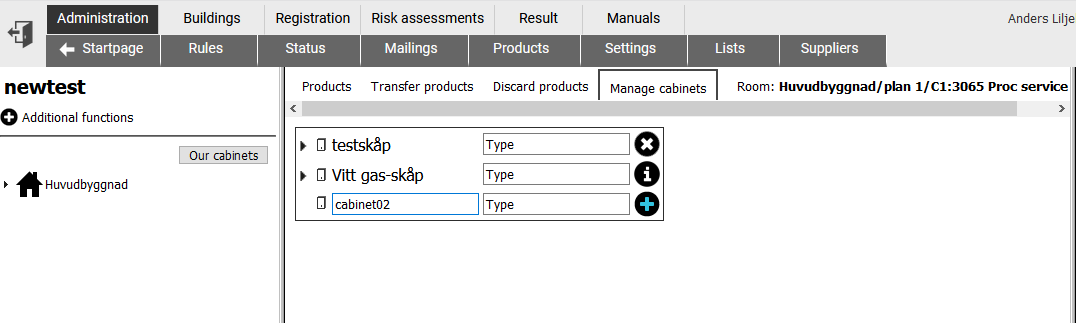
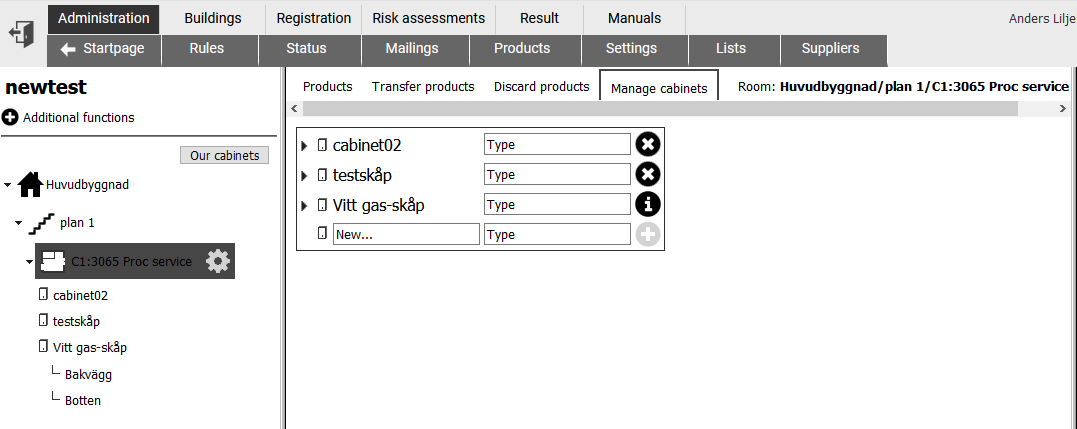
This will make the list of chemicals much shorter when you display the products residing in one cabinet or one shelf. It will give you a much better overview during inventory.

See to it that a lab room entry is selected in the left column. Then there will be a tab "Manage cabinets" shown above the list of products.


The existing cabinets will be shown, and there is the option ot create a new cabinet.

For some reason the list of lab rooms and cabinets in the left column is collapsed.


Give the new cabinet a good name, reflecting its physical location/appearance etc. (my example is bad, sorry). You can also give the cabinet a type, ventilated, safe for acids, etc.

Click on the black circle with a plus sign to create the new cabinet.


The cabinet is created, shown both in the center area and in the left column (the list is now expanded).


By clicking on the small, right-pointing arrowhead you can create a shelf inside the cabinet.


Give the shelf an name, and click the black circle with a plus sign to create the shelf.


The shelf is created, but the list in the center is collapsed. The list in the left column shows the new shelf.


It is possible to create items on the shelf, such as boxes for a group of products etc.


To remove a storage item, you can click on the black circle with a cross in it. This can only be done if the item is empty, i.e. not containing any products of containers.

Clicking on the black circle with the letter "i" will tell you that the cabinet/shelf/container is not empty.


Anders Liljeborg Albanova Nanolab, KTH, SU.