How to make a risk assessment in KLARA

Anders Liljeborg, updated 2023-03-17


A risk assessment is necessary for estimation of dangers for a particular process. The substances used in the process as well as the handling of them must be considered in order to fully estimate the risks involved.

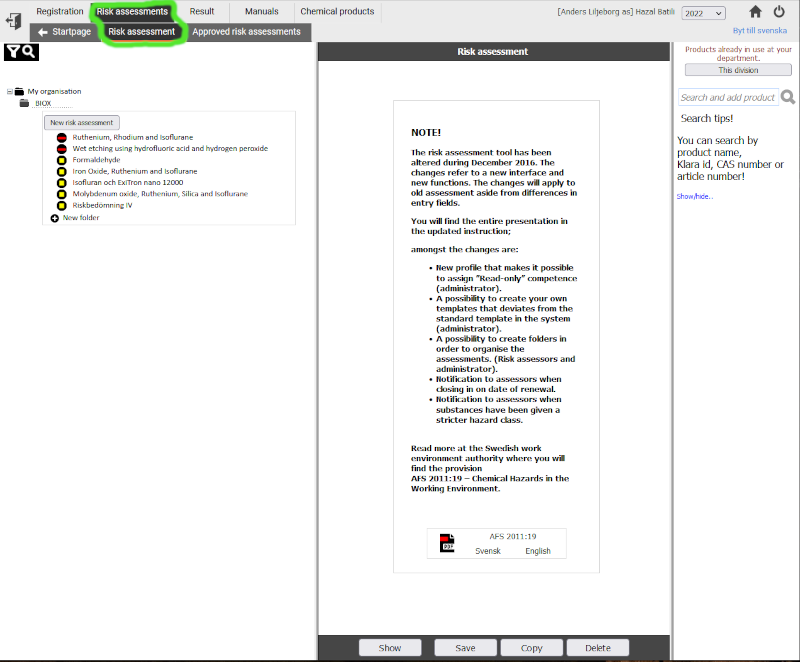
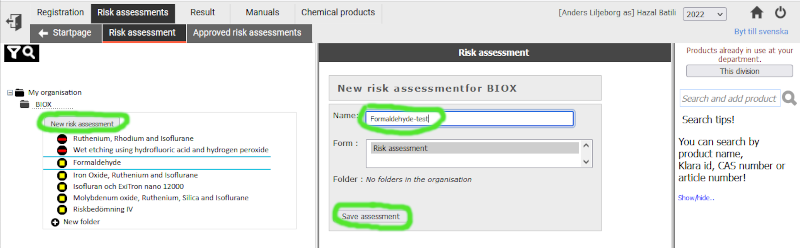
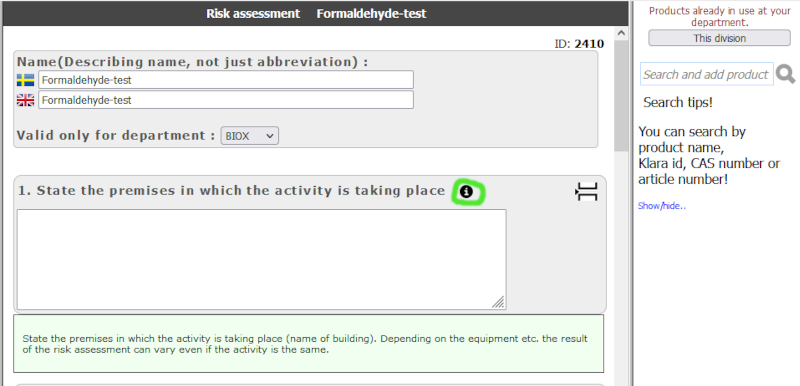
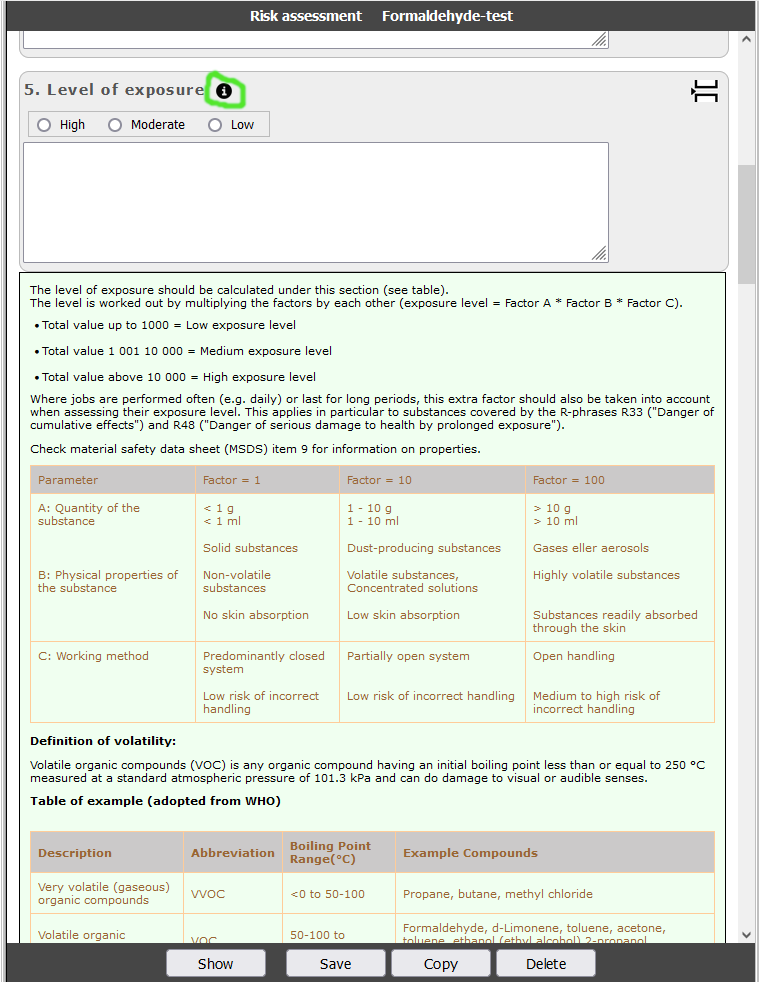
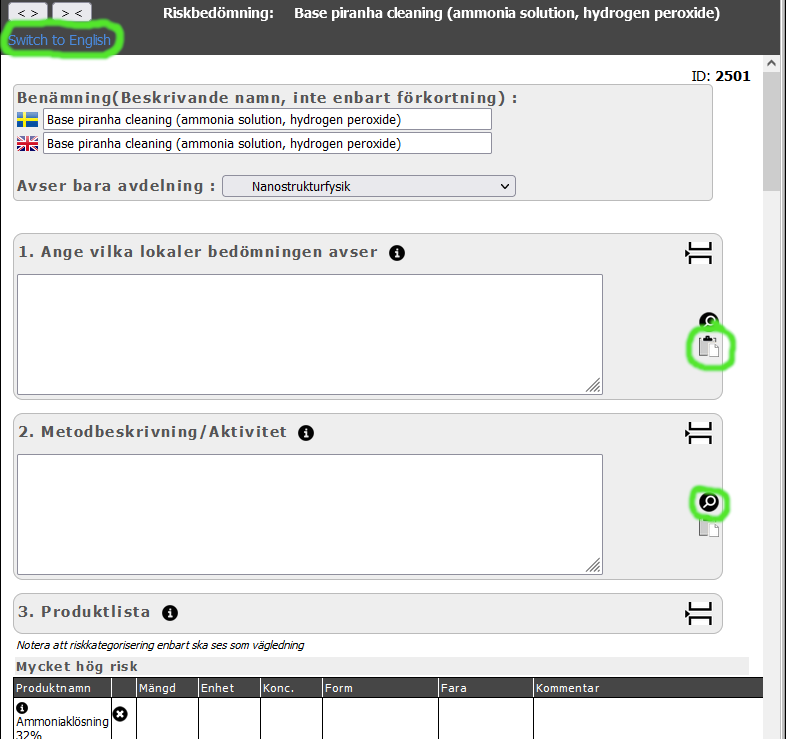
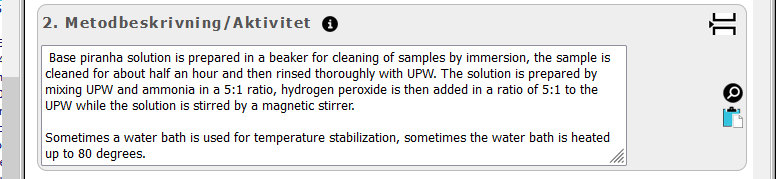
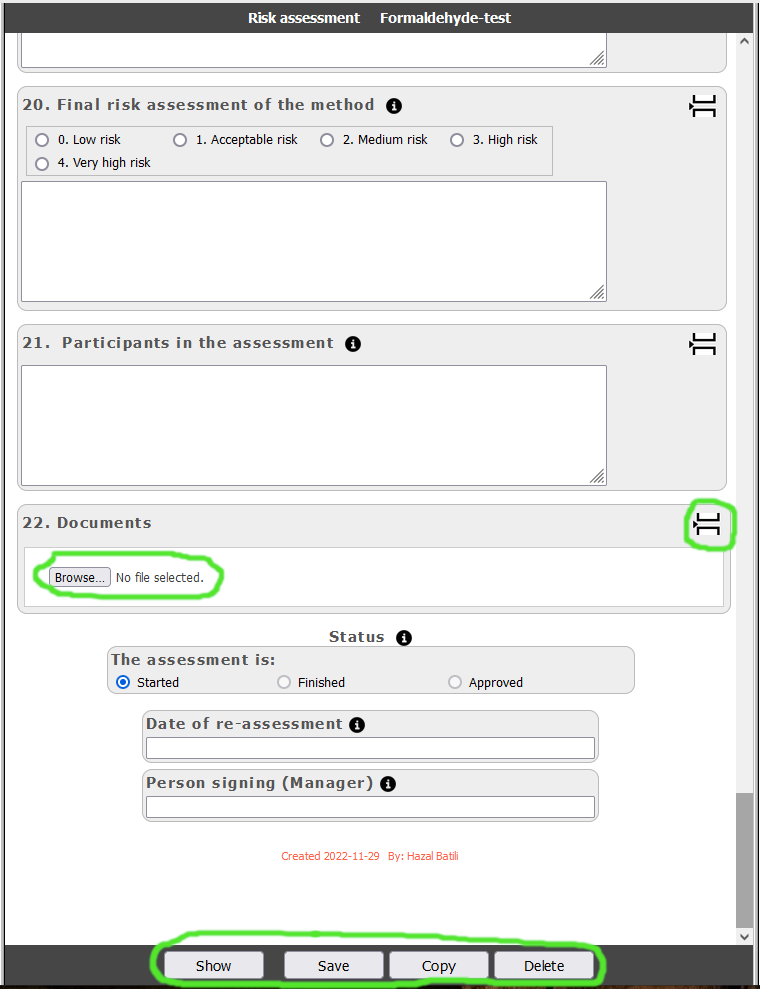
In KLARA there is a tool to help doing this assessment. The tool consists of a form with several sections to be filled out, the substances in the process are added from the KLARA database including the danger symbols and risk phrases.

The procedure is described in the different sections of the form, as well as the protection necessary. Some sections are for indicating the danger level, level of exposure etc.

Each section contains a help function ("i" inside a small black dot) that will expand a help text relevant for the section.

Below is shown the very first page when entering the risk assessment module.


You start a new assessment by clicking New risk assessment. You fill out the name of the assessment and click Save assessment to get into the form.


In the form the name is already filled out. Note that the risk assessment should be in both English and Swedish, as you can see in the name fields. However only one language version of the sections is shown. You can switch between the English and Swedish sections by choosing language in the upper right corner of the KLARA interface (not shown in this screen shot).

Each section has a text field that should be filled out by you. Please note the letter "i" inside the black dot, this displays useful help texts.

Section 3 is where the products used are entered. You do this by adding products from the KLARA database, much like you do during an inventory.


Here is an example of a help text displayed.


For some sections the help text can be quite extensive, like here, for estimation and calculation of level of exposure.


There is the possibility to make the risk assessment in both Swedish and English. If you have entered text in one language and want to add text in the other language there is some help.

The screenshot below is shown with Swedish selected. In the case shown here some English text have been entered in the sections. You do not see this because Swedish is the selected language.

To the right in each section there is an "Clipboard" icon. Clicking this will copy the English text into the empty space of the corresponding Swedish section. Then the text can be easily translated without having to switch between languages.

The magnifying glass icon shows the English text without copying it into the Swedish text area. Maybe somewhat unnecessary since the "Clipboard" icon has been added.

Please note that these two icons are not visible if no text in either language has been entered in the particular section.

At the top left there is the text Switch to English. Clicking this will switch the risk assessment to English.


In the screenshot below, the "Clip board" icon has been used. The English text is now copied into the Swedish section and should be translated.

Auto translation (using e.g. Google Translate) is not implemented, due to it not being accurate enough for this technical function.


Go through all the sections and fill out the relevant information. Use the MSDS for the products used in the procedure, you can easily access the MSDS by clicking the small black dot with the letter "i" next to the name of the product, in the list of products, section 3.

Especially section 13 Personal protective equipment, the MSDS contain specification for the quality/type of gloves necessary etc.

Please note that ordinary prescribed glasses are not considered to be protective glasses, they do not give protection at the sides.


Section 22 have the capability of uploading documents that are important for the risk assessment. For substances in the CMR group this is important, since here the CMR investigation form should be up loaded.

At the bottom of the form are fields for who should sign the risk assessment, date for re-assessment and status.

The person who signs the assessment should be a person familiar with the described procedure, and understands the risks invlolved.

At the very bottom are buttons for saving, copying, deleting the assessment(s). Also there is a button Show which generate a pdf that can be printed and signed. Please note the "Insert page break" symbol at the upper right in each section. This is used to ensure that sections are not split across pages, making it difficult to read the assessment.

When the assessment is complete it should be printed and given to the person to sign it. The status should then be set to "Finished".

When the assessment has been signed it should be kept in the lab where the procedure is carried out. The status should be set to "Approved".


Anders Liljeborg Albanova Nanolab, KTH, SU. (with help of Cecilia Uppström)