Responsible: Erik Holmgren
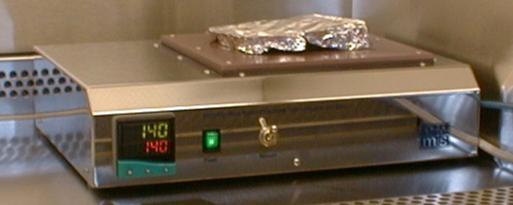
Placed in the same clean-air bench as the spinner is the hotplate (also by EMS, England). It is quite simple to operate, it has an ON-button, a temperature regulator and a vacuum switch.
|
|
|
The set point temperature is shown in green at the lower
part of the display.
Press P button to start changing the set point. The text SP 1 starts blinking. Change the set point with up or down arrow buttons. | After a while the blinking SP 1 dissapears and the actual temperature is shown in red. It will take some minutes for the hotplate to reach the set temperature. |
The vacuum can be used to hold the wafer more firmly to the hotplate,
thereby decreasing the thermal resistance. However for this to work all
vacuum holes in the surface of the hotplate must be covered by the wafer.
The vacuum is supplied by the same pump as for the spinner, so do not leave
the vacuum switch ON for the hotplate since it decreases the
vacuum for the spinner.
For baking of chips the vacuum should not be used.
|
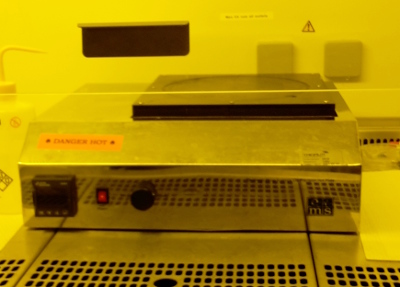
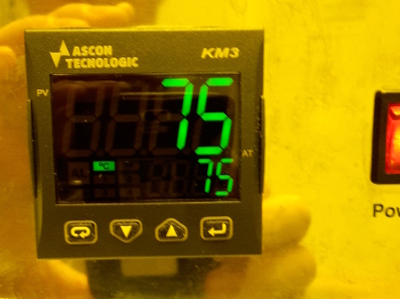
| Hotplate from the same manufacturer, Electronic MicroSystems Ltd (EMSL). The controller has been replaced, there is a slightly different way to set the temperature. |
|
|
| Temperature at set point (+75° C). Set point at the bottom, actual temperature above with larger figures, both green. |
|
|
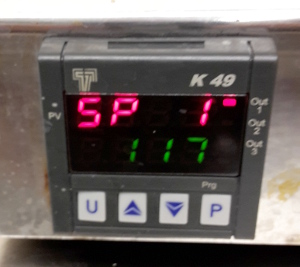
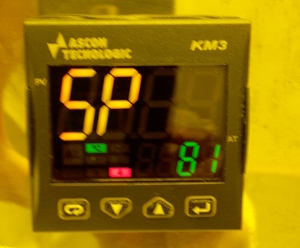
| Press lower right button once, yellow letters "SP" blinks, increase or decrease set point with up- or down-arrow buttons. |
|
|
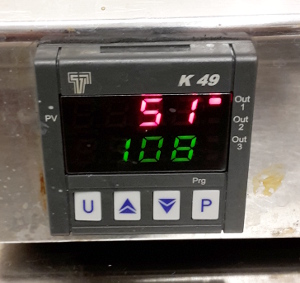
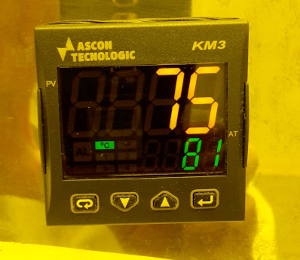
| Press lower right button again to confirm, after a short while the actual temperature is displayed with yellow figures. |
|

|
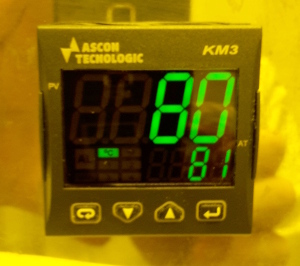
| When set point is reached the display of actual temperature is displayed with green figures. |
|
|
| It seems the marigin for set point reached is ± 1° C, actual temperture figures are green also in this case. |