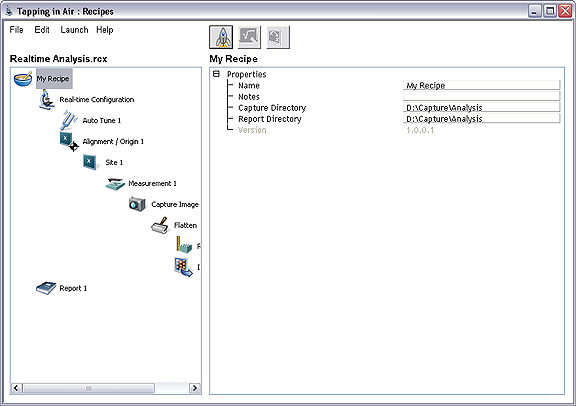
- Create a Roughness image analysis node as a child to the Flatten node. As a child to the Flatten node, the roughness analysis will be performed on the modified output image created by the Flatten node.
NOTE: If the
Roughness node was created as a sibling to the
Flatten node (child to the
Capture Image node), then the analysis would be performed on the original Captured Image, not on the modified file:

If the Roughness node has accidentally been created as a sibling to the Flatten node, then delete it and recreate another Roughness node by right clicking on the Flatten node and selecting
New > Image Analysis > Roughness.
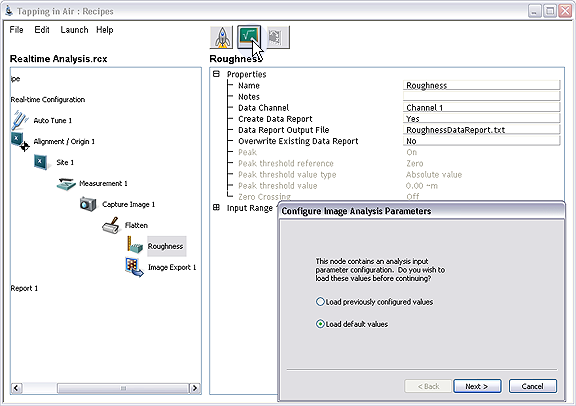
- Select the Roughness node, and click on the Professor to teach the roughness properties:
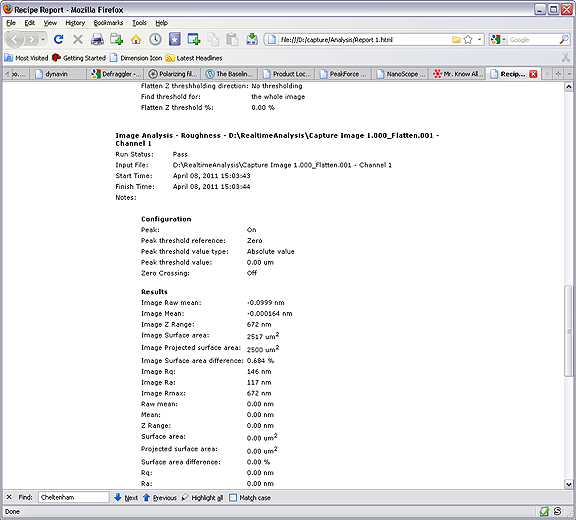
- For now, leave the Create Data Report setting set to No. We will view the results of the Roughness analysis in the standard HTML report format. The next section that deals with batch image processing shows an example of how to use image analysis data reports.
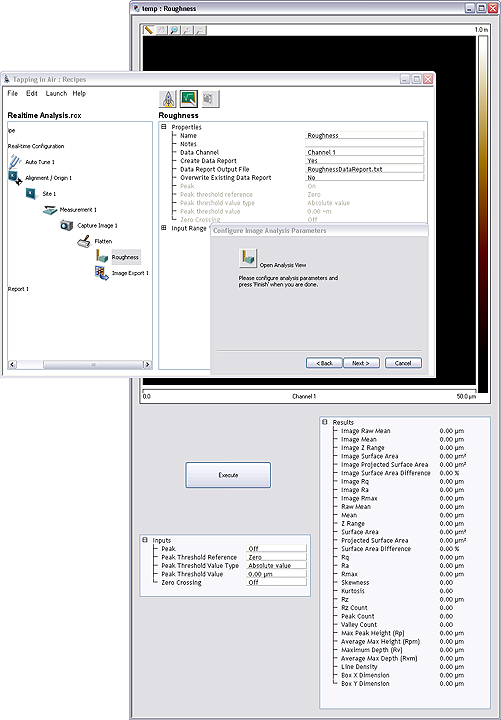
- Configure the Roughness input parameters, and then click Next to continue:
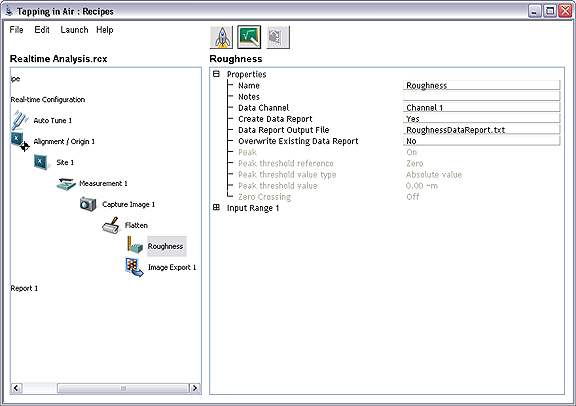
The taught roughness parameters are now shown in grey in the Roughness node properties window:
They may be retaught be engaging the Professor again.
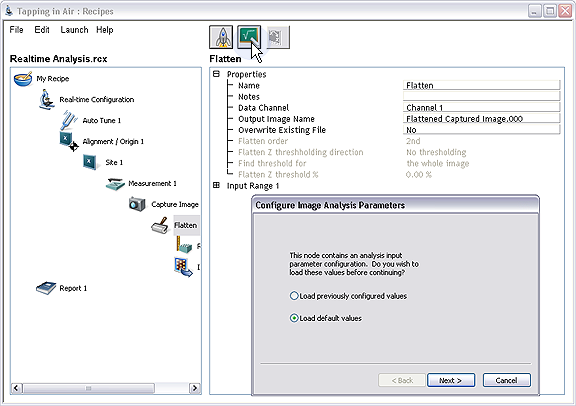
 1. Teach the "Flatten" (Image Modify) Command