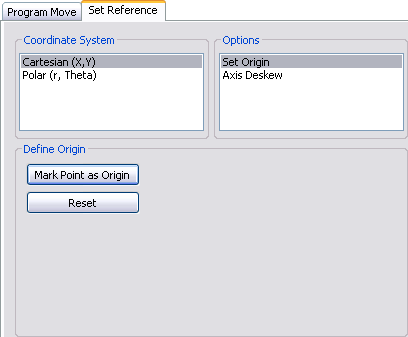
The Set Stage Reference panel is used to set the origin point on the sample surface to be used for all subsequent Move To (X,Y) and Programmed Move operations. It is important to verify the reference point (0,0) with programmed move sequences, since all moves are relative to the current origin. For example, a program designed to move the stage to the four corners of a square sample when the origin (0, 0) is set to the upper-left corner will not probe the same positions if the origin is changed to the lower-right corner. Avoid confusion by selecting a standard position as the usual origin reference (e.g., lower-left corner), then reuse the same reference position with all samples.
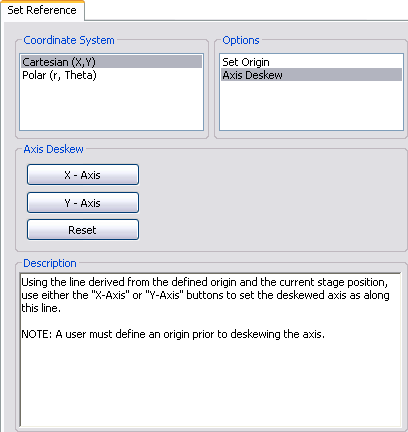
On samples having a grid-like aspect (e.g., integrated circuits), the reference may be initially defined from a line (two points) rather than a single point. The reference line is defined parallel to some feature on the sample surface (e.g., an electronic trace on an integrated circuit). You may complete this by defining two points: an origin and a second point. Defining the second point compensates for sample rotation.
| www.bruker.com | Bruker Corporation |
| www.brukerafmprobes.com | 112 Robin Hill Rd. |
| nanoscaleworld.bruker-axs.com/nanoscaleworld/ | Santa Barbara, CA 93117 |
| Customer Support: (800) 873-9750 | |
| Copyright 2010, 2011. All Rights Reserved. |