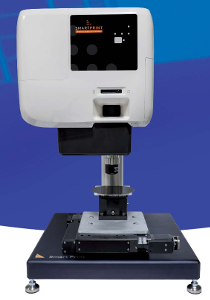
Photolithography tool for maskless and single shot lithography:
- Blue light illumination, 430 - 470 nm, power 11 mW.
- Compatible with g-line photoresists, typical AZ1512HS,
AZ4562, AZ9260.
- Flat substrates up to 100 mm diameter.
- Design: 1920×1080 B&W or grayscale bitmap.
- Design tonality inversion.
- Grayscale lithography
- Alignment mode with green light illumination.
Manufacturer: Smartforce Technologies
| Objective
| Field of view [mm]
| Pixel size or precision [µm]
| Min feature size [µm]
|
| × 0.5
| 25.6 × 14.4
| 13.3
| 40
|
| × 1
| 13.6 × 7.7
| 7.7
| 23
|
| × 2.5
| 5.4 × 3
| 2.8
| 8
|
| × 5
| 2.7 × 1.5
| 1.4
| 4
|
| × 10
| 1,35 × 0.75
| 0.7
| 2
|
Manufacturers Manual
How to convert a CAD
drawing to a bitmap in an exact way.
Stitching
accuracy test, 2018-03-05
|
|
|
Really short user manual (Thanks to Joonas Govenius):
- Turn on projector (without a sample).
- Start software.
- Raise the objective all the way up.
- Put in the objective you want to use.
- Choose objective, resist, and substrate in software.
- Load your design.
- Check that the reported dimensions & pixel size make sense.
- Tweak exposure time.
- Set tonality (positive/negative exposure).
- Insert a dummy sample for focusing (or focus in an unused area of your real sample).
- Move the stage to a reasonable place for focusing.
- Choose "focus mode" (as opposed to "alignment mode"), i.e., blue light.
- Adjust height manually until you get a sharp image in "camera view".
- Go back to "alignment mode" (green light). Note that the image should not be in focus anymore (green and blue wavelengths cannot be simultaneously focused).
- Insert your real sample with unexposed resist.
- Move to the area you want to expose.
- For best resolution, correct tilt.
- For precise alignment, fine tune rotation and position.
- Expose (single pattern or matrix of patterns).
- Turn off projector (when done)!
|