Responsible: Anders Liljeborg, Adrian Iovan
Process gases O2, Ar, CF4, CHF3, SF6,
Cl2.
Inductive Coupled Plasma (ICP), Helium backside cooling, temperature controlled electrode.
Manufacturers manual (limited access). Suggested process recipes from Oxford Plasma Tech. (limited access).
Manual, rough pump, Alcatel 2033
Sample holder is designed for four inch wafers only! For mounting smaller chips you have to use a four (4) inch substrate, silicon, glass plate or teflon.
You should get your own, personal four inch fused silica wafer
when you start
using the system on your own.
Some results
of cooled Si-etch.
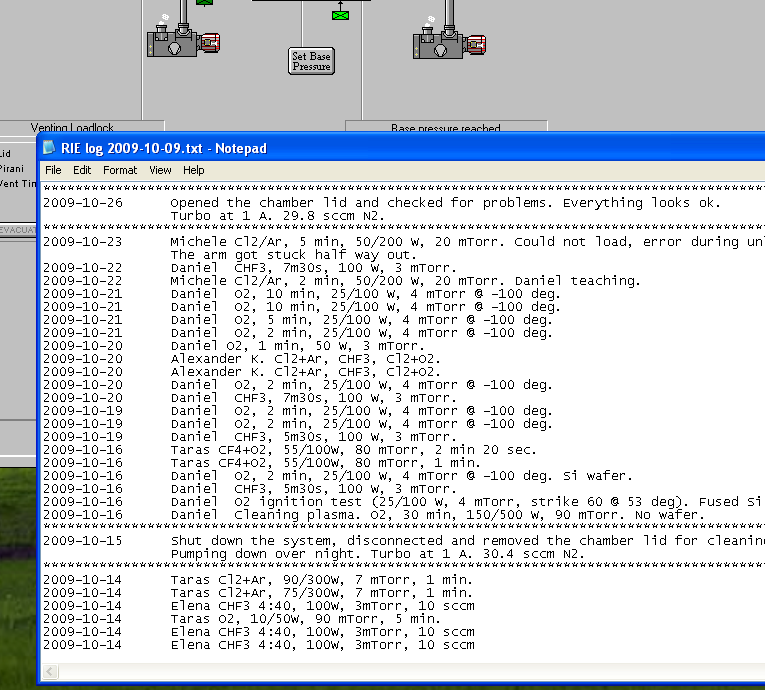
Important! Cleaning recipes after each session
Service Mode Replacing a gas bottle
|
|
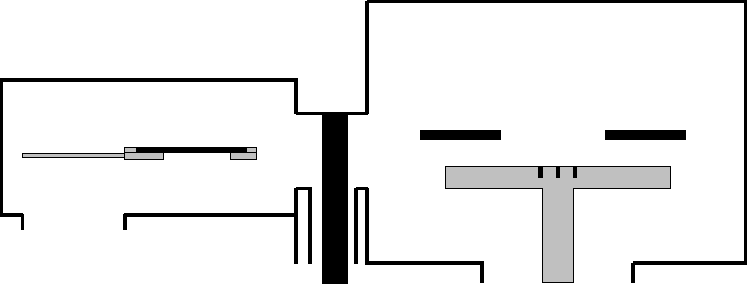
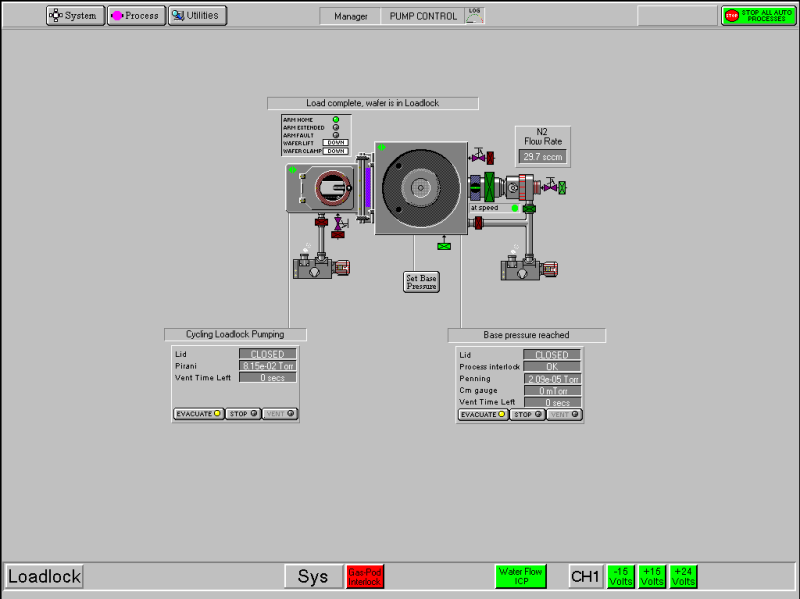
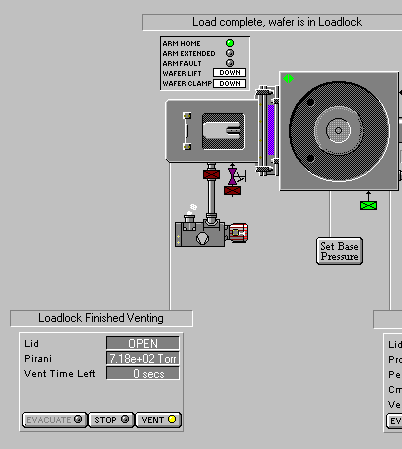
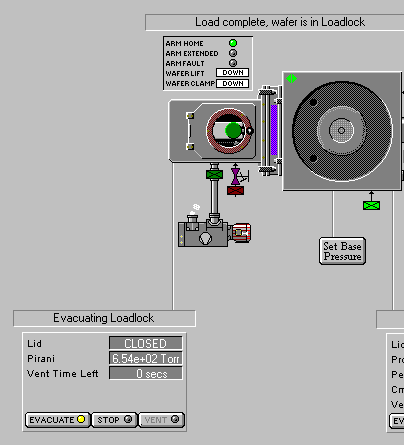
Here the lid of the load lock is open, and you mount your wafer / sample.
Please note that ABSOLUTE maximum size for the sample is two inches! If the sample is close to two inch in diameter it has to be carefully aligned to the center of the carrier wafer.If you are using cooling, attach your sample to the carrier wafer with a small amount of vacuum grease (Fomblin). Take care that no grease is showing around the edges of your sample. Please try to keep the load lock door open as short time as possible. |
|
|
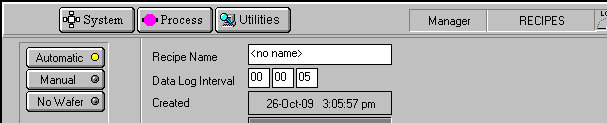
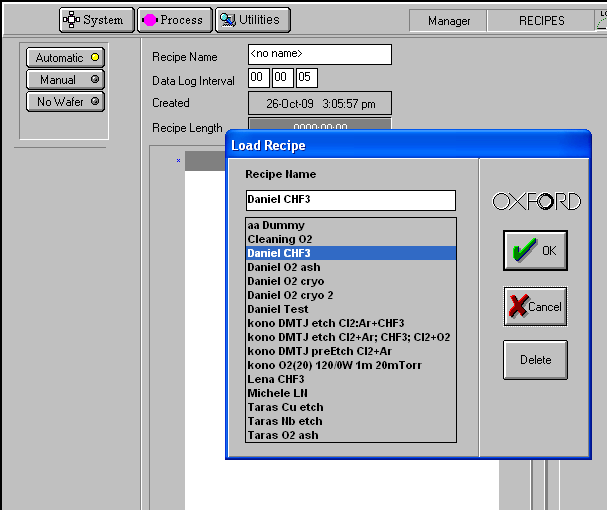
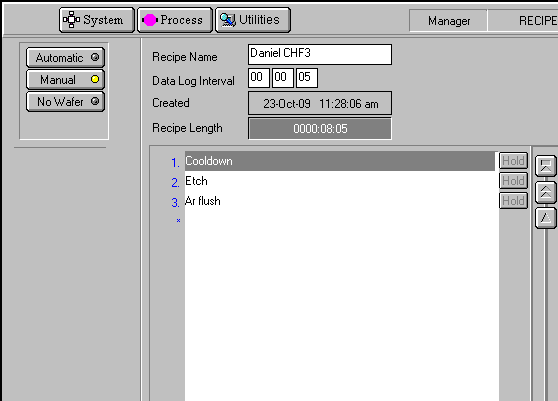
Go to the RECIPES page and check that
AUTOMATIC is enabled.
This will ensure that the loading is fully automatic.
It means that the loading will happen automatically
when you start to run your recipe. The unloading will happen automatically
after the end of your recipe.
Never run a process without a carrier wafer loaded, e.g. a cleaning process for the chamber. The carrier wafer is protecting the center lifting pins which would otherwise be etched and destroyed. |

If you are going to use CRYO COOLING, this is a good time to start that using LN2.
|
|
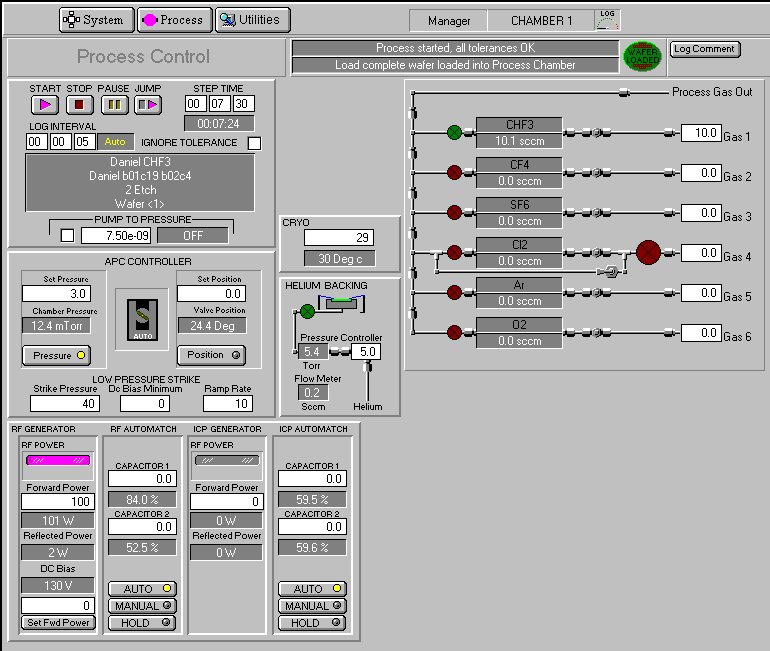
Here is the step running, etching with CHF3 using only the
RF-power, no ICP, step length is 7 minutes, 30 seconds.
Helium backside cooling is used, and the sample is
heated to 30°C.
Please note the very low Set Pressure at 3.0 mTorr.
This requires a Strike Pressure of 40
mTorr to be able to
start the plasma. Then the pressure is decreased to the Set
Pressure at a certain rate, the Ramp
Rate, here set to 10, which means 10 steps of one
second each, i.e. ten seconds ramp down time.
If you are using cooling (e.g. -50°C), always do the cooling in a
separate step in the recipe, say only cooling for ten minutes. That
way the set temperature is always reached before the etching is
started.
|
|
|
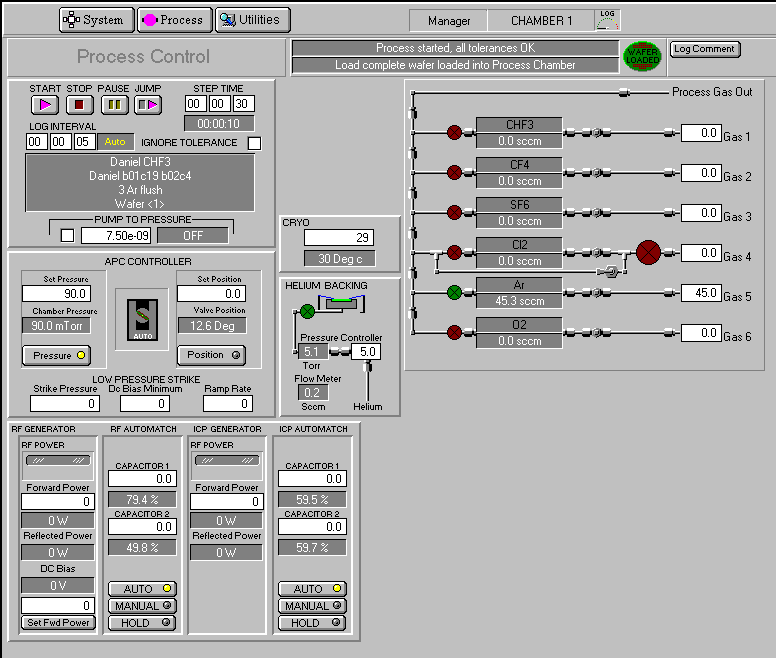
Here is the last step, Ar flush, 30 seconds, only flushing the chamber with argon
to get rid of aggresive rests of the previous etching gas. No RF-power
is used.
This is good practice and should always be used
after etching with Cl2.
|
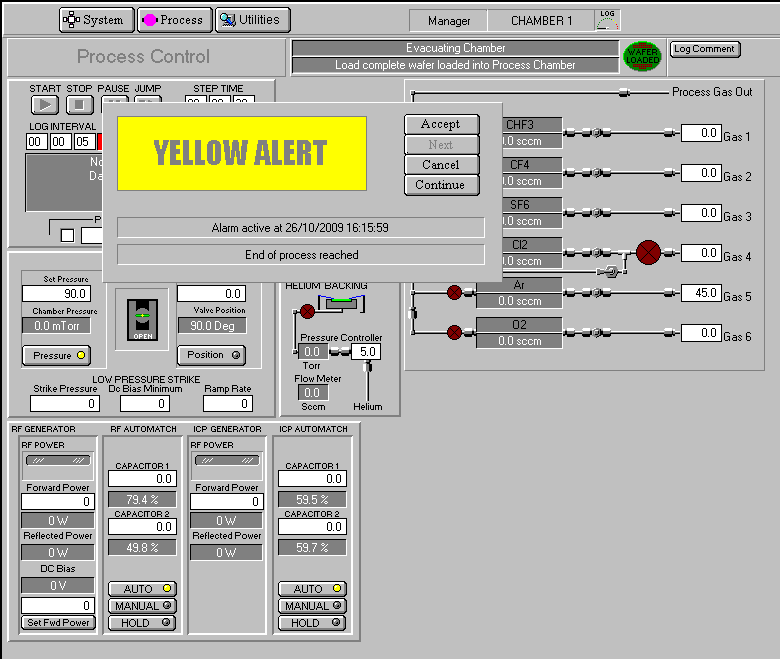
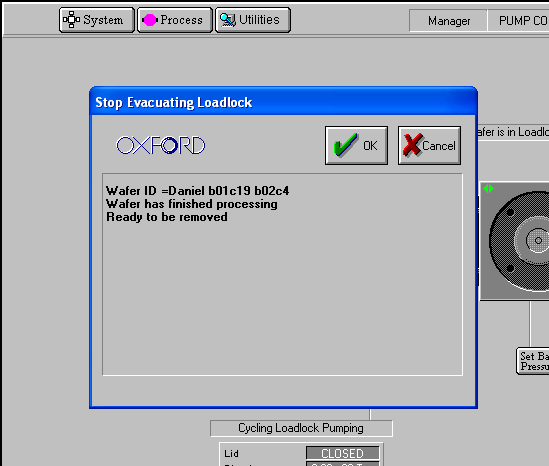
Then the automatic unload procedure starts.
|
At end of session:
|